
Conveyor Command: build two routes that survive a six-parcel test
Rotate factory belts, inspect their current paths and test two delivery streams across twenty-four dispatch puzzles.
Plan first, then watch the factory answer
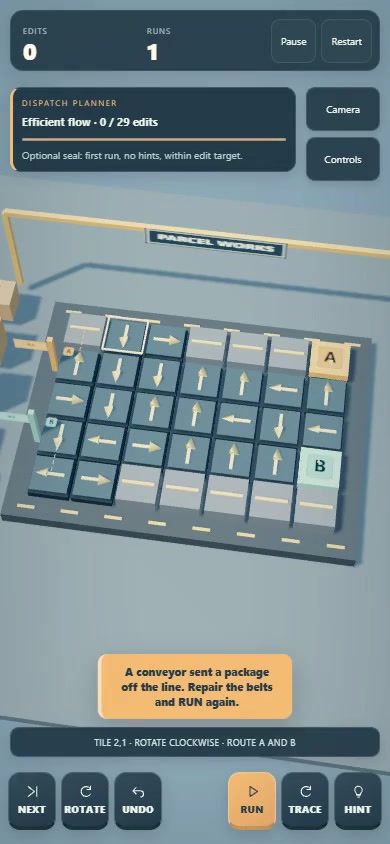
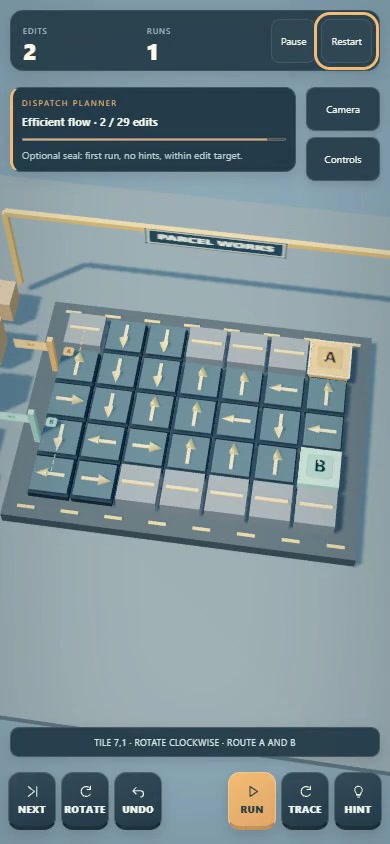
Conveyor Command gives you a small factory floor filled with directional belts. Amber A parcels and mint B parcels enter from separate starting points and need to reach their matching docks. You rotate the belts before launching a batch, then watch whether the routes actually work. A successful plan delivers all six parcels safely, rather than merely connecting one entrance to something that looks like an exit.
The current release contains twenty-four dispatch challenges. The floor includes unavailable spaces as well as usable belts, and the two streams share the same planning area. An arrow that appears helpful for one route can create trouble elsewhere. The puzzle asks you to reason about complete paths and their interactions, not just fix the first visibly incorrect belt near an entrance.
Select, rotate and inspect
Tap a belt to select it, then use ROTATE or E to turn it clockwise. NEXT or Tab cycles through available belts. Z takes back an edit, restoring the previous direction. RUN or Space starts the batch; while a batch is running, the same control becomes STOP. You can stop, adjust the layout and launch again when you need to repair a route.
TRACE, or P, toggles dashed traces of the routes implied by your current arrows. These are inspection aids, not automatically solved paths. A trace can reveal a loop, an early dead end or a route reaching the wrong destination. Follow it from the entrance and compare each turn with the next usable tile. A line drawn across the board does not by itself prove that the whole batch will succeed.
Two correct destinations are only part of the test
A parcel can fail by leaving the line, reaching a missing belt or arriving at the wrong dock. Parcels can also collide, including when two try to swap positions across the same connection. A route that loops without reaching a dock eventually fails too. The game reports the failure and returns you to editing, so the observed problem becomes something specific to investigate.
The safest planning approach is to keep the amber and mint streams on separate clear routes. Trace A all the way to its dock, then trace B while checking that it does not borrow a crucial piece of A's path. Six parcels enter over the course of the run, so a route must handle repeated traffic. Do not stop checking just because the first delivery seems to be moving in the right direction.
Use the failed run as information
When a test fails, identify the first incorrect transition before rotating several belts at once. If a parcel leaves the board, inspect the arrow immediately before the edge. If the wrong dock receives a delivery, work backwards through the final turns. Changing one known cause at a time makes the next test easier to interpret. Otherwise, a new success or failure may be difficult to connect to any particular edit.
HINT or H selects a belt that differs from the supplied solution and tells you how many clockwise turns it needs. Using hints caps the run at two stars. Without assistance, a first successful batch earns three stars; later successful attempts can earn fewer. You can therefore finish by experimentation and return later with a more deliberate plan, rather than treating an early failed batch as the end of the puzzle.
Efficient Flow adds an editing challenge
The optional Efficient Flow seal requires success on the first run, without hints and within the displayed edit target. This makes preparation valuable before pressing RUN. Inspect the paths, count necessary rotations and use undo when an edit does not support your plan. A completed layout may still be worth revisiting if you want to achieve the same safe deliveries with more economical setup.
Our design interpretation is that the appeal comes from turning a static arrangement of arrows into a working process. The moving parcels reveal consequences that were previously only imagined. Clear failure messages and reversible edits support a cycle of prediction, observation and correction. This is a reading of the implemented game, not an invented statement about its developer's intentions or a promise of educational outcomes.
Confirmed place to play
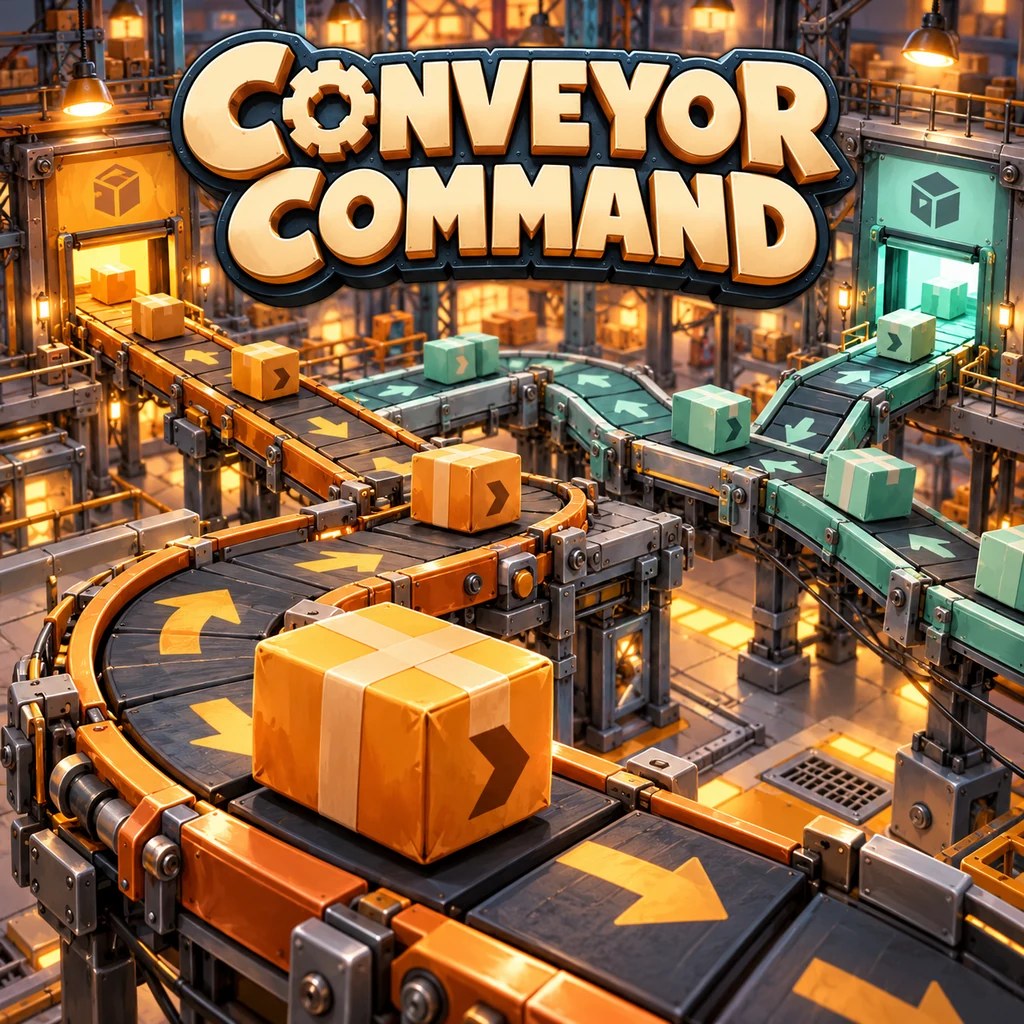
The Where to play section links the verified Oppoz release. Images include official promotional cover art and genuine gameplay-preview frames showing the belt layout and repair process. Checks of CrazyGames, Playgama and Google Play did not verify this exact portfolio title on those platforms. External availability remains unresolved; a missing search match is not evidence that an external release cannot exist.
Inside the game